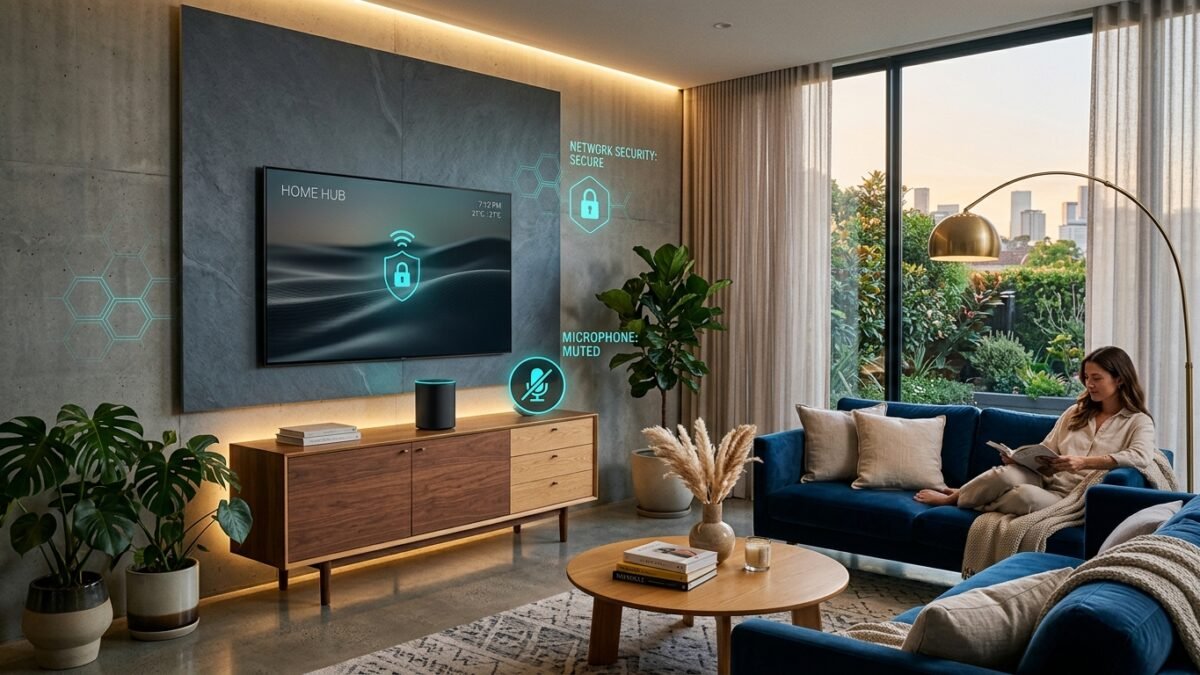
Modern consumer hardware has made incredible advances in entertainment and convenience. But behind the sleek glass panels and ambient voice controls lies a subtle economic reality: televisions and smart speakers are no longer priced merely as hardware—they are subsidized by the lucrative personal telemetry they collect about your household.
Fortunately, you do not need to throw away your smart gadgets or live off the grid to protect your family’s privacy. In just twenty minutes, you can audit your living room and turn off the most intrusive data-harvesting mechanisms.
Step 1: Muzzle Smart TV ACR Tracking (5 Minutes)
Modern televisions use Automated Content Recognition (ACR) to analyze every frame displayed on screen. Because this feature is buried deep in setup agreements under obscure terms like “Viewing Data” or “Live Plus,” most consumers click “Accept All” during setup without realizing what they surrendered.
- LG (webOS): Settings > General > System > Additional Settings > Live Plus > Toggle OFF. Navigate to “Do Not Sell My Info” and turn on limit tracking.
- Samsung (Tizen): Settings > Support > Terms & Privacy > Viewing Information Services > Uncheck box. Disable “Interest-Based Advertising”.
- Roku / Roku TV: Settings > Privacy > Smart TV Experience > Uncheck “Use Info from TV Inputs” and disable “Enable ACR”.
- Sony / Google TV: Settings > System > Samba Interactive TV > Disable Samba TV.
Step 2: Silence Voice Assistant Audio Archiving (5 Minutes)
Voice-activated speakers continuously listen for their wake word (“Hey Siri”, “Alexa”, “Hey Google”). While audio is theoretically only transmitted after the wake word is detected, accidental triggers happen frequently. By default, tech platforms may store these audio clips indefinitely to train acoustic models.
- Amazon Alexa: Open the Alexa app > Settings > Alexa Privacy > Manage Your Alexa Data > Select “Don’t save recordings” and disable “Help improve Alexa”.
- Google Home: Open Google app > Manage Google Account > Data & Privacy > Web & App Activity > Uncheck “Include voice and audio recordings”.
- Apple Siri: Settings > Siri & Search > Siri & Dictation History > Delete Siri & Dictation History. In Privacy & Security > Analytics & Improvements > Toggle off “Improve Siri & Dictation”.
Step 3: Quarantine IoT Devices on a Guest Network (10 Minutes)
The most powerful network defense you can implement at home takes less than ten minutes inside your Wi-Fi router’s administration portal.
Log into your home router (typically via 192.168.1.1 or your ISP’s companion app). Enable your Guest Wi-Fi network and ensure the setting “Client Isolation” or “Local Network Access” is disabled. Connect all smart TVs, smart bulbs, robovacs, and streaming sticks to this Guest network.
Keep your laptops, personal smartphones, tablets, and network backups on your primary private Wi-Fi network. By segregating these environments, even if a budget smart plug suffers an unpatched firmware vulnerability, the attacker is trapped in a sandboxed guest network and cannot snoop on your banking passwords or private files.